UC Santa Barbara scientists just built a liquid that stores sunlight for years at nearly double a lithium battery's energy density — and the part worth noticing isn't the chemistry, it's what gets subtracted May 16, 2026 Justin Brown
Two Perfect Day veterans just raised $2 million for a precision fermentation startup that isn’t chasing dairy substitutes anymore May 15, 2026 VegOut Editorial Team
Mars Petcare just quietly tilted its alternative-protein hunt toward Asia-Pacific — and the reason has less to do with pet food innovation than with collapsing birth rates reshaping who fills the family bowl May 14, 2026 VegOut Editorial Team
The EU just put €10M behind a London startup’s whole-cut mycelium steak, and its foodservice-first rollout shows why this alt-protein bet is different May 12, 2026 VegOut Editorial Team
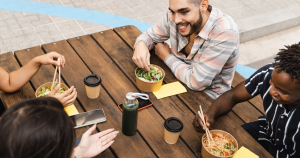
Research suggests people who eat alone in restaurants without their phone aren't necessarily lonely or socially awkward — some may no longer need a witness to feel at ease May 12, 2026 VegOut Editorial Team
A four-week diet trial in adults over 65 found biological-age markers shifted most on a lower-fat, higher-carb plate, not a fat-heavy one May 12, 2026 VegOut Editorial Team
Psychology research suggests people who regularly eat meals with others may be among the happiest. Shared dining is linked to higher life satisfaction and a deeper sense of belonging May 12, 2026 Mal James
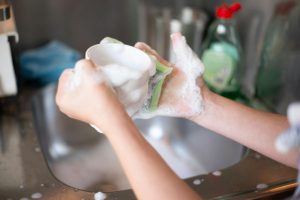
Adults who keep a clean kitchen even when nobody's coming over may have learned early that mess meant the house felt less steady May 12, 2026 VegOut Editorial Team
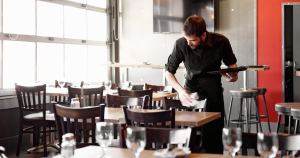
Psychology says people who stack their plates and tidy up before leaving a restaurant aren't trying to impress anyone — they may be revealing a deeply internalized respect for invisible labor May 12, 2026 VegOut Editorial Team
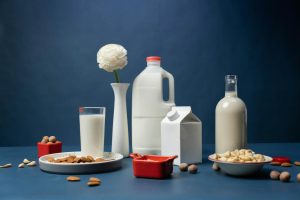
Danone shuts 25-year-old Silk plant as plant-based milk category splinters into winners and losers May 12, 2026 VegOut Editorial Team
Prodalim buys Better Juice as sugar fatigue and GLP-1 drugs rewrite the beverage playbook May 11, 2026 VegOut Editorial Team