A tested plant-based recipe from Oliver Park
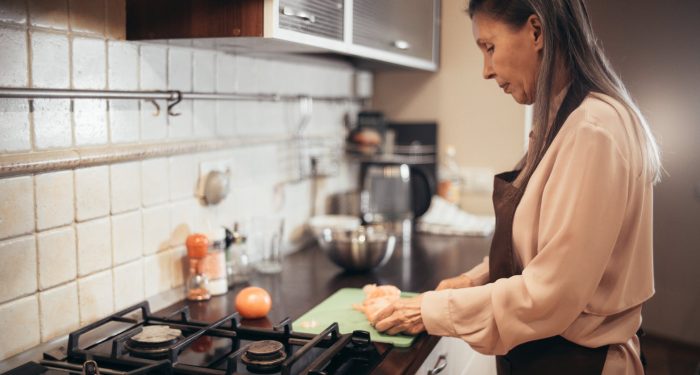
Here's the thing about frozen veggie burgers: they're fine. I ate them for years at the food truck, at home, standing over the sink at 11 PM after a double shift. But at some point I started doing the math. Four patties for seven or eight bucks, and most of them taste like seasoned cardboard held together by methylcellulose and good intentions. When I left kitchen work and started actually cooking for myself again, slowly, on my own terms, with wrists that still ache when it rains, I wanted something I could make fast without pretending it was a chore. This is that recipe.
Black-eyed peas don't get enough love in the burger conversation. Everyone reaches for black beans or chickpeas, which are great, but black-eyed peas have this earthy, almost nutty quality that takes to spice beautifully. The move here is smashing them: not pureeing, not food-processing into paste, just rough-mashing with a fork so you get texture. Chunks and creaminess in the same bite. Then you pan-fry them thin, which is where the crispy part happens. Think smash burger logic applied to a bean patty. More surface area on the pan means more crust. It's the same principle I picked up cooking Korean-style pancakes with my mom and later applied to everything from hash browns to potato cakes at a restaurant in Portland. Flat and wide beats thick and tall when crunch is the goal.
A batch of four takes about 15 minutes from can to plate and produces a patty that is genuinely crispy on the outside and creamy in the middle. They're weeknight-fast but good enough to serve people. I've made these on brioche buns with pickled onions, stuffed them into pitas with tahini, and eaten them plain over rice with hot sauce. They're flexible like that. If you've been spending $7-9 on a box of frozen patties, try one round of these and see if you go back. I didn't.
Smashed Black-Eyed Pea Patties
Yield: 4 patties
Prep Time: 7 minutes
Cook Time: 8 minutes
Difficulty: Easy
Ingredients
- 1 (15 oz) can black-eyed peas, drained and rinsed
- 3 tablespoons all-purpose flour (or chickpea flour for gluten-free)
- 2 tablespoons nutritional yeast
- 1 teaspoon smoked paprika
- 1 teaspoon garlic powder
- 1 teaspoon onion powder
- ½ teaspoon cumin
- ½ teaspoon fine sea salt
- ¼ teaspoon black pepper
- ¼ teaspoon cayenne (optional, skip if you're spice-averse)
- 1 tablespoon soy sauce or tamari
- 3 tablespoons neutral oil for frying (avocado or vegetable)
Instructions
- Add the drained black-eyed peas to a mixing bowl. Using a fork or a potato masher, smash them until roughly half the peas are broken down and the other half are still mostly intact. You want a chunky, sticky mixture — not a smooth paste. This takes about 60 seconds of firm mashing.
- Add the flour, nutritional yeast, smoked paprika, garlic powder, onion powder, cumin, salt, pepper, cayenne (if using), and soy sauce. Stir everything together with the fork until the mixture holds together when you press it. If it feels too wet, add another tablespoon of flour. If it's too dry and crumbly (unlikely with canned peas, but possible), add a teaspoon of water.
- Divide the mixture into 4 equal portions. Roll each into a ball, then press flat between your palms to about ½ inch thick. They should be wider than you think. They won't spread or shrink much during cooking, and thinner means crispier.
- Heat the oil in a large non-stick or cast-iron skillet over medium-high heat. The oil should shimmer but not smoke. If you flick a tiny crumb of the mixture in and it sizzles immediately, you're ready.
- Carefully place the patties in the pan, leaving at least an inch between them. Now here's the important part: once they're in the pan, use the back of a spatula to press each patty down firmly, flattening them to about ⅓ inch thick. This is the smash. It maximizes contact with the hot pan and builds the crust.
- Cook undisturbed for 3½ to 4 minutes, until the bottom is deep golden brown and visibly crispy at the edges. Resist the urge to check early because lifting too soon can break the crust before it sets.
- Flip carefully with a thin spatula. Press down once more, gently. Cook another 3 to 4 minutes on the second side until equally golden and crisp.
- Transfer to a plate lined with a paper towel. Season with a tiny pinch of flaky salt immediately while they're hot. Serve within a few minutes. These are best fresh.
Notes & Tips
- The smash is non-negotiable. If you skip pressing them down in the pan, you'll get a thicker, softer patty that tastes fine but misses the whole point. Commit to the smash.
- Cast iron vs. non-stick: Cast iron gives a better crust. Non-stick is more forgiving if you're nervous about sticking. Either works. If using cast iron, make sure it's properly preheated and well-oiled.
- Dried black-eyed peas: You can absolutely use home-cooked. Just make sure they're well-drained and slightly cooled before mashing. One can equals roughly 1½ cups cooked.
- Storage: Cooked patties keep in the fridge for 3 days. Reheat in a dry skillet over medium heat to restore crispiness. The microwave will make them sad. You can also freeze the uncooked formed patties between sheets of parchment for up to a month.
- Serving ideas: On a toasted bun with pickled red onions and sriracha mayo. In a pita with shredded cabbage and tahini. Over a grain bowl with greens and a fried-chili oil. Or just plain, dunked in ketchup. No judgment.
- Scaling up: This recipe doubles easily. If you're cooking eight patties, work in two batches because crowding the pan drops the temperature and steams instead of crisps.
If you're rethinking other grocery autopilot purchases, I wrote about 10 everyday items I stopped buying that freed up $500 a month. Some of the swaps surprised even me.